Pandemic resulted to many things, including your job overseas. Now that you’re back home, you are now looking for means to sustain you and your family’s needs. This means you’re back to job hunting.
Part of local employment is submitting tons of requirements, including police clearance. This pre-employment requirement is crucial because police clearance is a document that proves that the person has NO criminal or derogatory record based on the Philippine National Police Database.
Police Clearance is also valid for six months and comes with a unique QR code, which signifies authenticity.
Here’s some good news: you don’t need to line up, apply for a police clearance, and wait for an hour to get it. Through their website, you can now schedule an appointment and pay for the fees online. Unfortunately, the system does not support – yet – full online application. This means you still need to go to your chosen police station to get your biometrics and photo.
Nonetheless and to avoid the possibility of spreading of the virus, here’s how you can apply online.
Step 1: Prepare all your requirements.
Two valid IDs are needed when applying for a police clearance. These IDs must be original, not expired, and contains your name, clear photo, and signature.
Acceptable IDs include:
- OFW ID
- Passport
- Philhealth ID
- GSIS ID
- SSS ID / UMID
- TIN ID
- Voter’s ID
- Driver’s License
- Postal ID
In case you can only present one ID, make sure you can provide a Certified True Copy of your Birth Certificate, preferably with original receipt.
Step 2: Register
Once you prepared all the documentary requirements, it’s time to register for an account with National Police Clearance System.

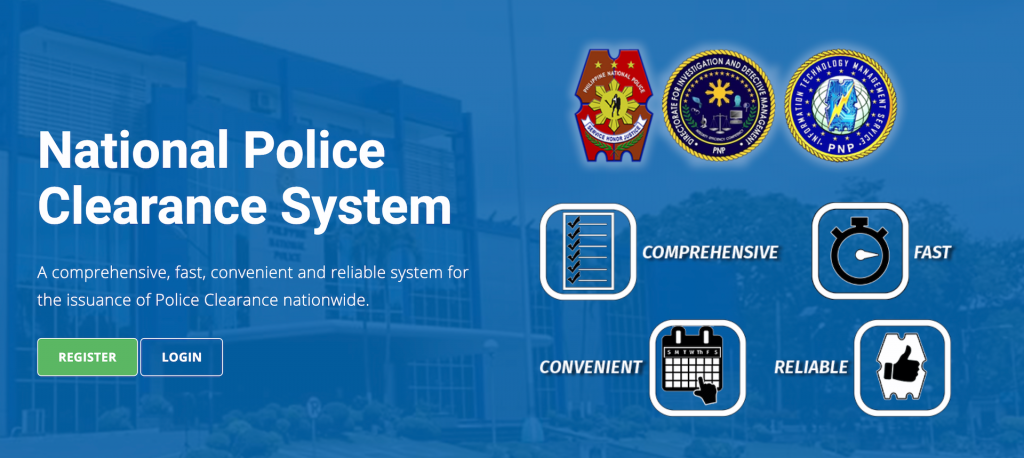
Also known as NPCS, this website provides online services to Filipinos to streamline and make application easier.
To register, visit the NPCS website, which you can also access here.
Click Register. The next screens will show Terms and Conditions. Make sure to read through each slide, check the boxes, and then click Next. On the last slide, click I Agree.
Thereafter, fill in the required details. Make sure that your email address is active and you know the password to be able to log in since this will be used to communicate with you.
After registration, check the confirmation message sent to your email address to verify your account. Then, click the verification link.
Step 3: Edit Your Profile
Sign in to your online account using your registered email address and password.
Once you logged in, click the Edit Profile and fill in the necessary details. Make sure that you click the Save Profile button.
Step 4: Online Appointment
After editing your profile, it’s time to set an appointment.
To do this, click Clearance Application button. Then, choose the nearest police station where you can get your police clearance. After, you will see the available schedules. Choose your desired schedule and then click Next.
To confirm your appointment, click Land Bank of the Philippines and then Save Appointment.
Take note that payment details will be displayed thereafter. Take note of these details, especially the reference number since you will use this for payment of police clearance.
Step 5: Payment
This is the limitation of this service. After setting an online appointment schedule, the rest must be done face-to-face.
At this point, you need to pay for the police clearance fee amounting to P160.00, which includes both the clearance fee of P150 and transaction fee of P10.
If you pay through Gcash, then input your Gcash account number in the LBP ePayment portal. Thereafter, it will display transaction details and payment summary.
If you prefer more convenience, then you can also pay through 7/11. Here’s how:
- In the LBP ePayment portal, click Cash Payment and then click Submit.
- Choose 7-Eleven as your payment channel and then click Proceed. Make sure that you copy the payment reference number and then pay it using 7-Eleven’s CliQQ mobile app. Make sure that you have a registered account with CliQQ to proceed.
- Login to your CliQQ account. Choose Government from the list of billers.
- Choose MYEGPH from the options. Then, enter the Reference Number, mobile number, and amount. Take note that for the amount, it should be P180.00 since the transaction or convenience fee is P30.00
- Then, click Confirm. A bar code will be shown, which you will use when paying for your police clearance through the nearest 7/11 branch.
Step 6: Scheduled Appearance
Head to the police station on the day of your scheduled appointment. Make sure to bring two valid IDs, reference number from the NPCS website, and official receipt of the payment of Police Clearance. Present these documents to the officer-in-charge.
Thereafter, you will go through biometrics capture and then have your photo and signature taken.
Verification process will follow where the police officer will check your records on the PNP database. Don’t worry since this will only take minutes. Once ready, your name will be called to pick up your Police Clearance.
What happens if you have a hit?
In that case, you will have to undergo another verification process. Once this is settled, you can get your Police Clearance.
This is a good step towards automation and making everyone’s lives easier. Sadly, they cannot do away with the face-to-face because of he biometric processes but nevertheless, this is an improvement of service.
In the meantime, take advantage of this service.
